A nasty, but necessary guide for campervans, caravans and motorhomes!
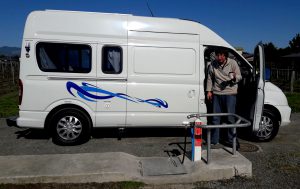
It seems a silly thing to have to explain, but campervan dump stations can be a little intimidating for a first-time user. Lots of people get it wrong, which can be kind of… gross. Don’t worry – that’s what these instructions are for.
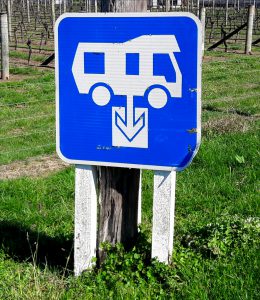
First off, look for one of these signs:
Already made it to a dump station? Okay. Here we go…
Step One: Make sure you’re parked so that your van’s waste water outlet is higher up than the dump station, because… you know… gravity. (The positioning of some dump stations makes this difficult.)
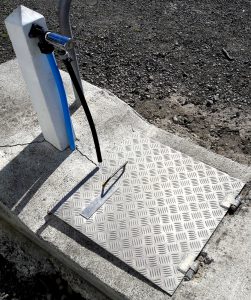
Step Two: Lift the lid. In most dump stations, you’ll see a pipe sticking up next to a drain, usually covered with a grate. Remember, the toilet waste goes in the pipe; the greywater goes down the drain.
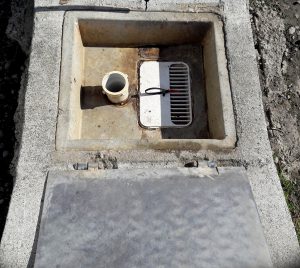
Step Three: Empty your toilet waste first, so, if you accidentally spill any, you can use your greywater to rinse it down the drain.
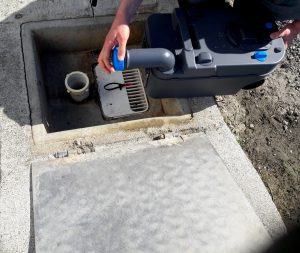
Step Four: Place the neck of the toilet waste container down the pipe, as this minimises splashing and means you don’t get any toilet paper stuck in the grate.
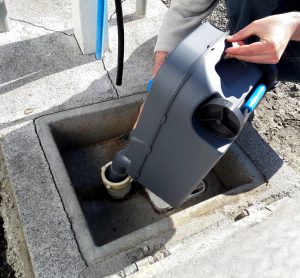
Step Five: When you’ve emptied the toilet waste container, use the tap to rinse it clean. (Do NOT use this tap to refill your fresh water tank! There’ll be another tap around somewhere, labelled “POTABLE WATER”.)
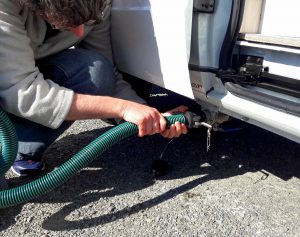
Step Six: Attach the appropriate pipe to your van’s greywater outlet. (Don’t pull the lever until it’s securely attached!)
Step Seven: Point the pipe down the drain – don’t put it down the toilet waste pipe! – and wait for what seems like forever whilst the greywater tank empties.
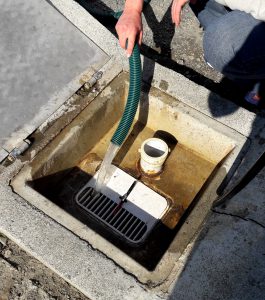
Step Eight: Close the lever before you remove the pipe from your van’s greywater outlet, and remember to put the cap back on.
Step Nine: Make sure the pipe is empty before putting it back in your van!
Step Ten: Close the dump station lid and you’re away.

And that’s it. Simple as, right? Good luck.